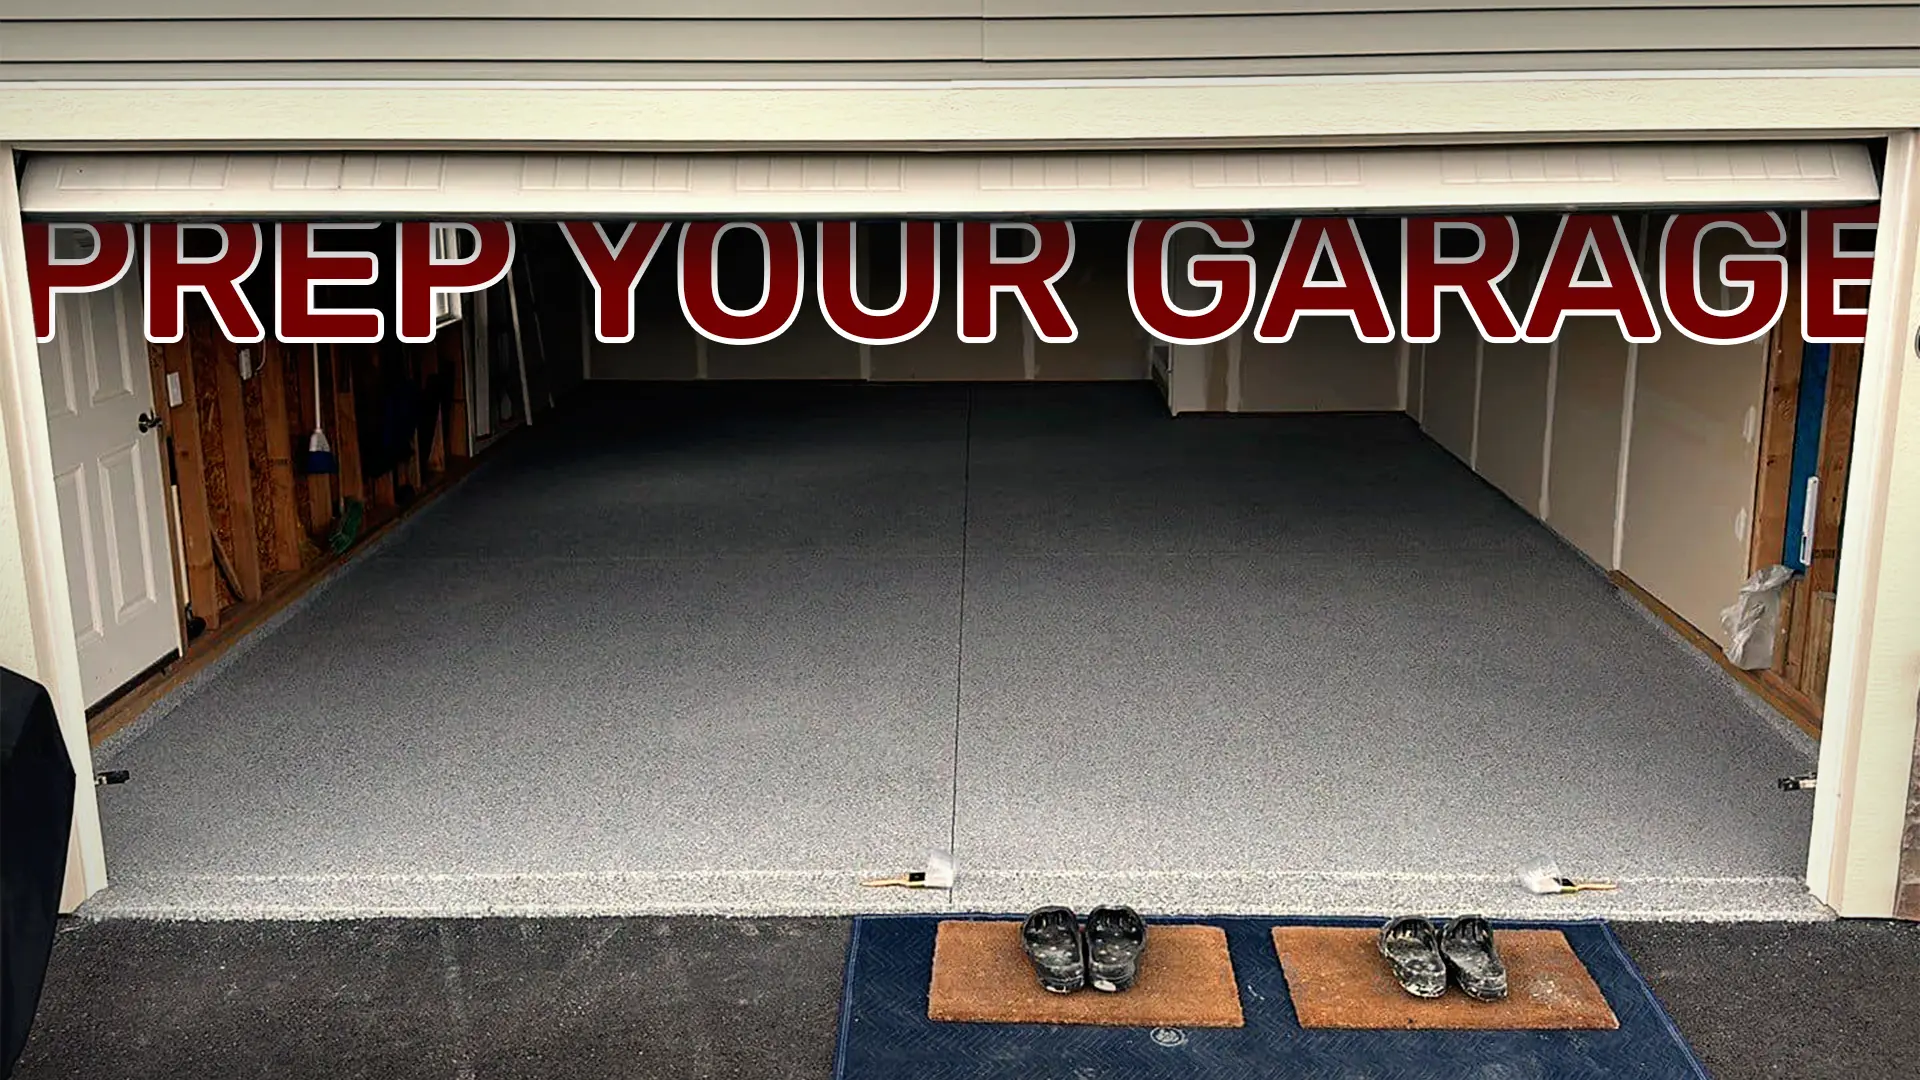
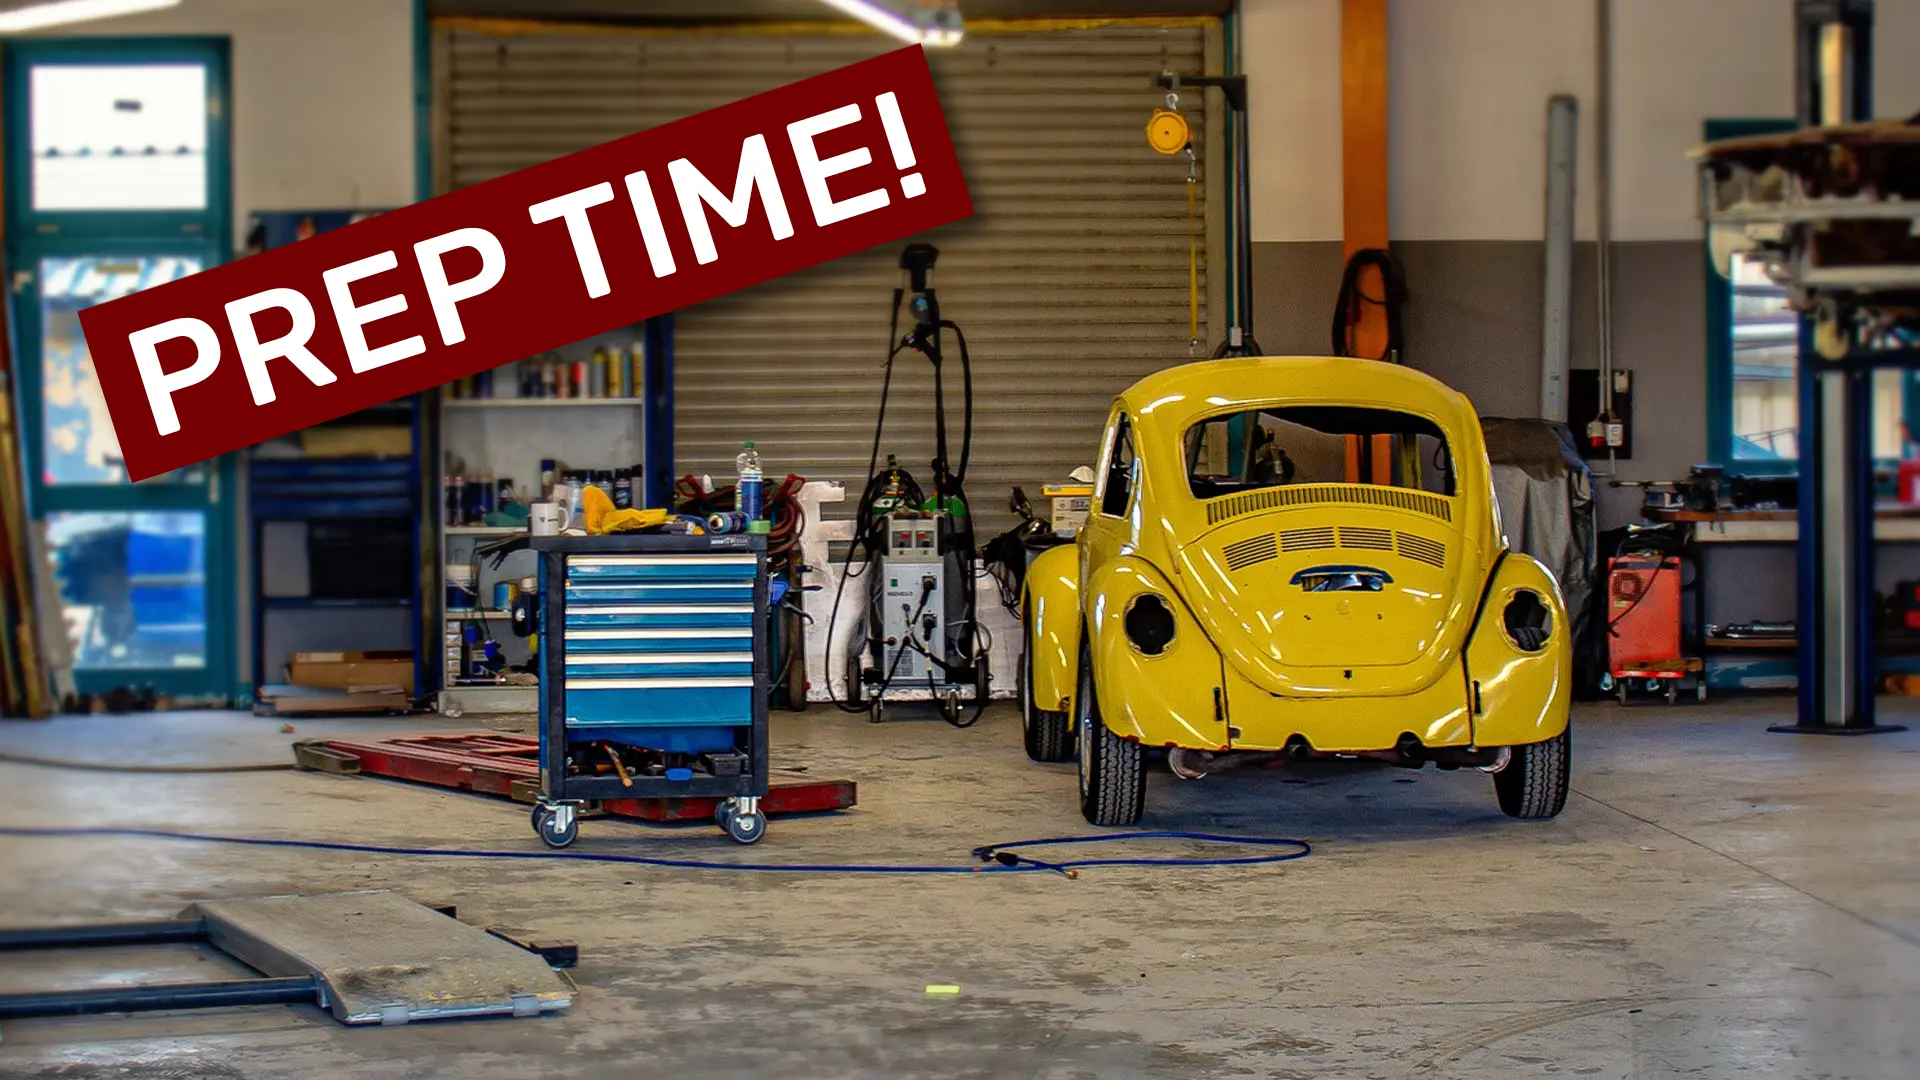
The preparation of a garage prior to applying an epoxy and polyaspartic concrete coating is a critical step to ensure adhesion and long-term durability. Maryland’s varying climate, from warm, humid summers to cold, snowy winters, can influence the longevity and performance of the coating. Thus, it is important to follow specific preparatory steps to ensure optimal results — though, if you’re really working with professionals, their customer service should make this (very simple) process clear and easy to understand. Still, knowing how these conditions affect the coating will also help you better maintain your floor after installation. We hope this article helps you get a pro epoxy floor installation.
Pro Epoxy Floor Installation: Step 1 – Removing All Items from the Garage
For a successful residential epoxy floor coating, it is imperative that all items, including appliances, tools, and stored belongings, are completely removed from the garage. This provides professionals with full access to the floor surface, ensuring that the coating covers every inch. If items cannot be stored inside the house, they can be placed in a temporary storage unit or in the driveway, adequately protected from weather elements like heat or rain.
Additionally, the removal of these items prevents any dust or dirt from being transferred back onto the newly coated floor during or after installation of your new epoxy floor.
It’s important to protect electronics and manage your HVAC system during the installation of a garage floor coating. Any electronics should be removed; those that can’t be removed should be wrapped. Additionally, if your garage houses an HVAC system, turn it off during installation to prevent dust and debris from circulating into your home and affecting the curing process of the epoxy coating. Any wall-mounted items more than 36 inches above the floor can remain.
Pro Epoxy Floor Installation: Step 2 – Ensuring a Clean and Stable Environment
During the installation of a garage floor coating, external environmental factors, such as dust, moisture, and temperature, can affect the coating’s adherence. Maryland’s climate, which fluctuates between high humidity in the summer and freezing conditions in the winter, can play a role in how well the floor coating sets. Therefore, it is crucial to keep the garage sealed off from any yard work or maintenance activities that could stir up dust or debris during the installation period.
For instance, mowing the lawn or doing DIY projects near the garage can generate dust that might settle on the fresh epoxy, interfering with its curing process and resulting in a weaker bond.
Pro Epoxy Floor Installation: Step 3 – The Role of Surface Preparation
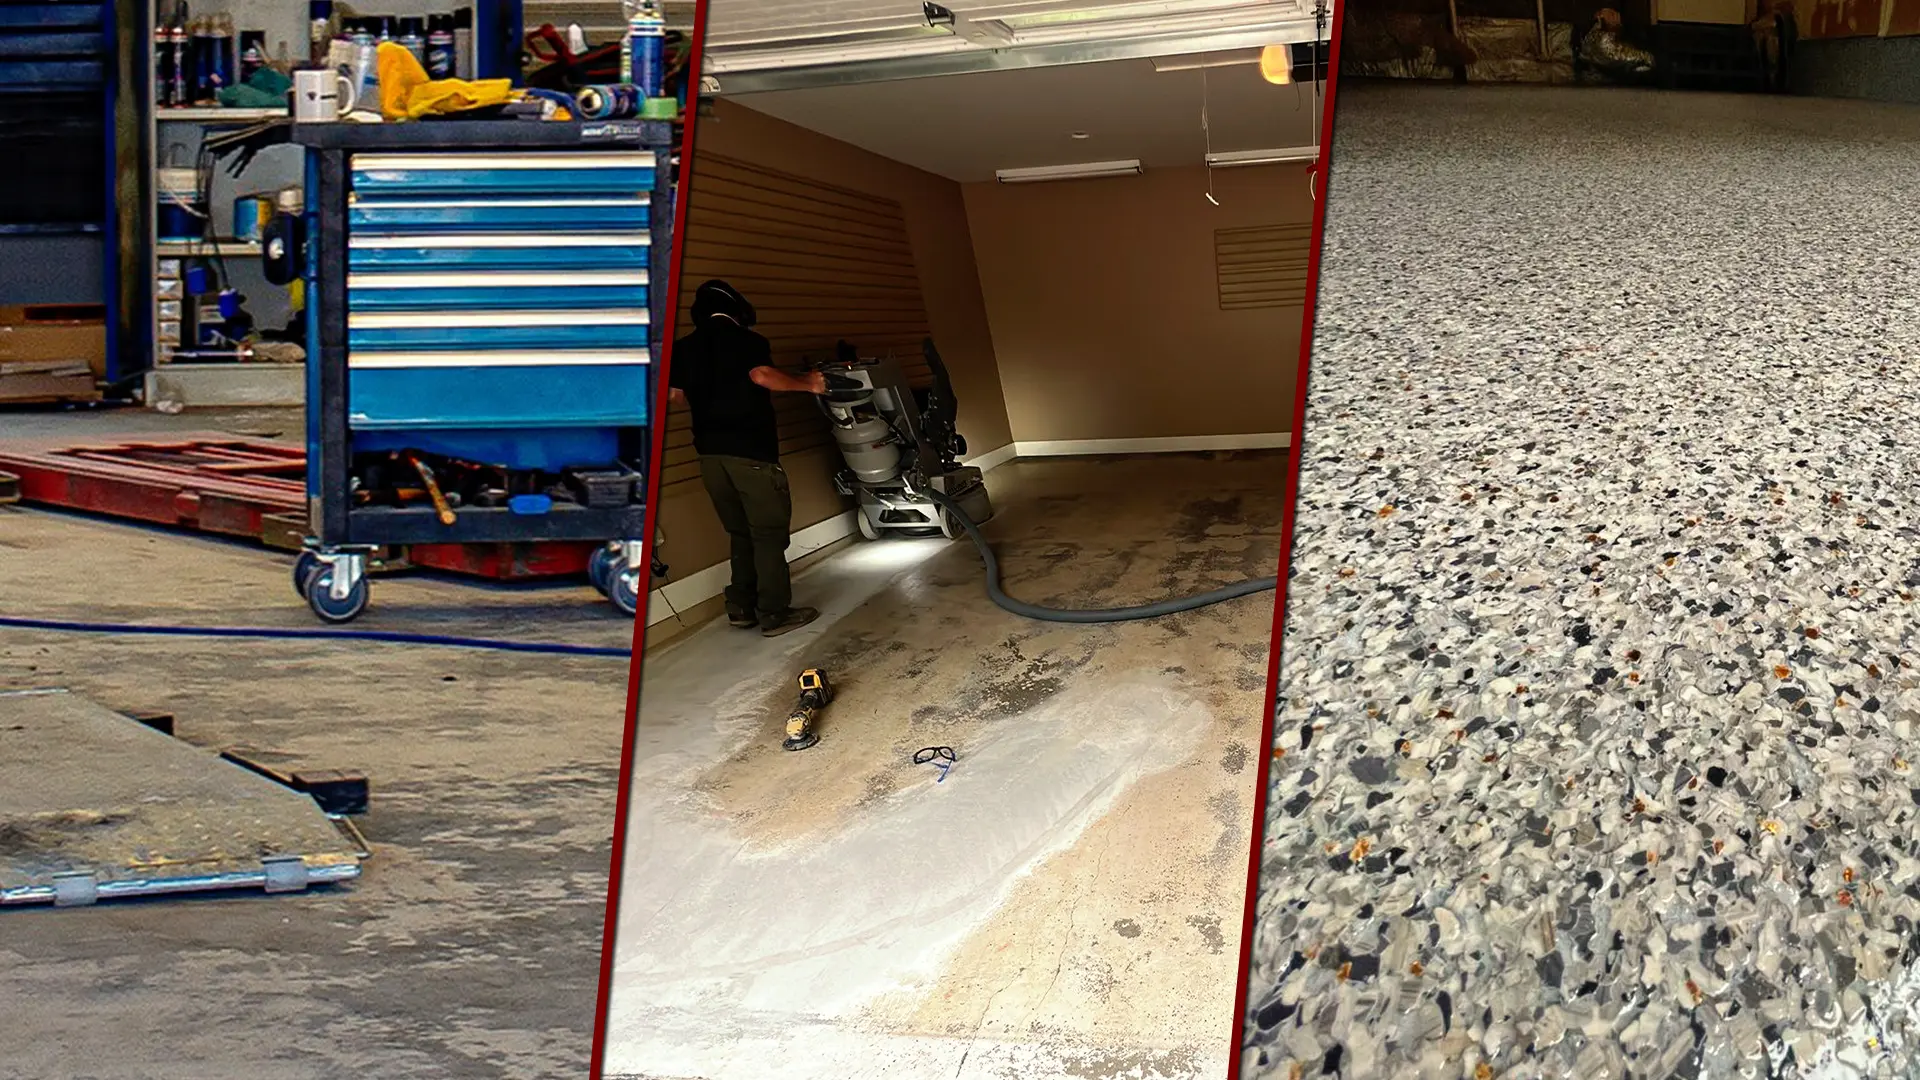
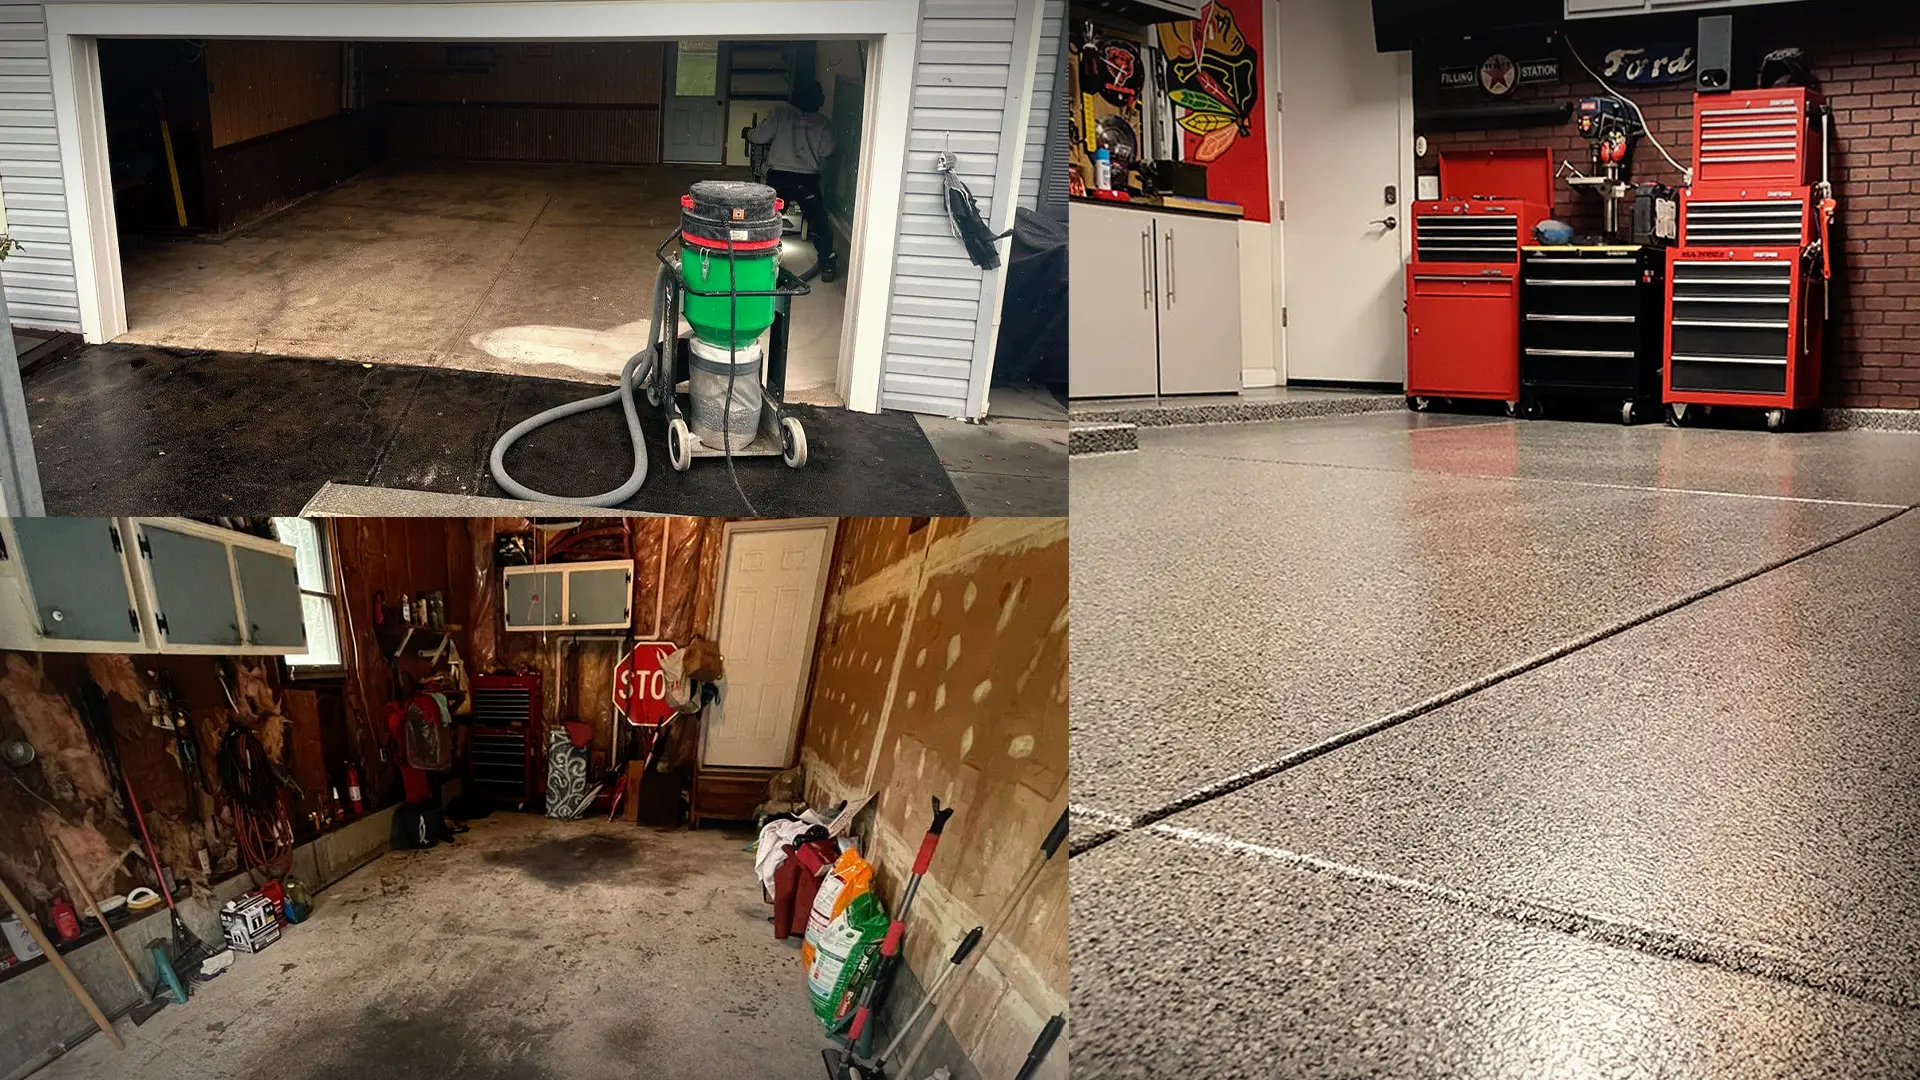
Homeowners often wonder why they do not need to clean or sand the garage floor before professionals arrive. The reason lies in the advanced techniques employed by installation teams. The process of grinding the concrete floor removes old concrete floor paint, garage floor paint, and other surface coatings that would otherwise prevent proper bonding. The grinding process also creates a textured surface that enhances the mechanical bond between the coating and the concrete.
In addition, cracks and pitting repairs are handled by the professionals, using concrete patch systems. These repairs are crucial in preventing moisture from seeping into the cracks during Maryland’s wet seasons, which could otherwise lead to damage over time.
Conclusion: Benefits of Epoxy in Your Garage
For garages in Maryland, epoxy flooring provides robust protection against the region’s diverse weather conditions. From heavy rainstorms to the icy cold of winter, a well-prepared and professionally coated floor will resist moisture, wear, and the expansion and contraction caused by temperature changes. Proper preparation ensures that your garage floor coating will remain durable and low-maintenance for years to come.

